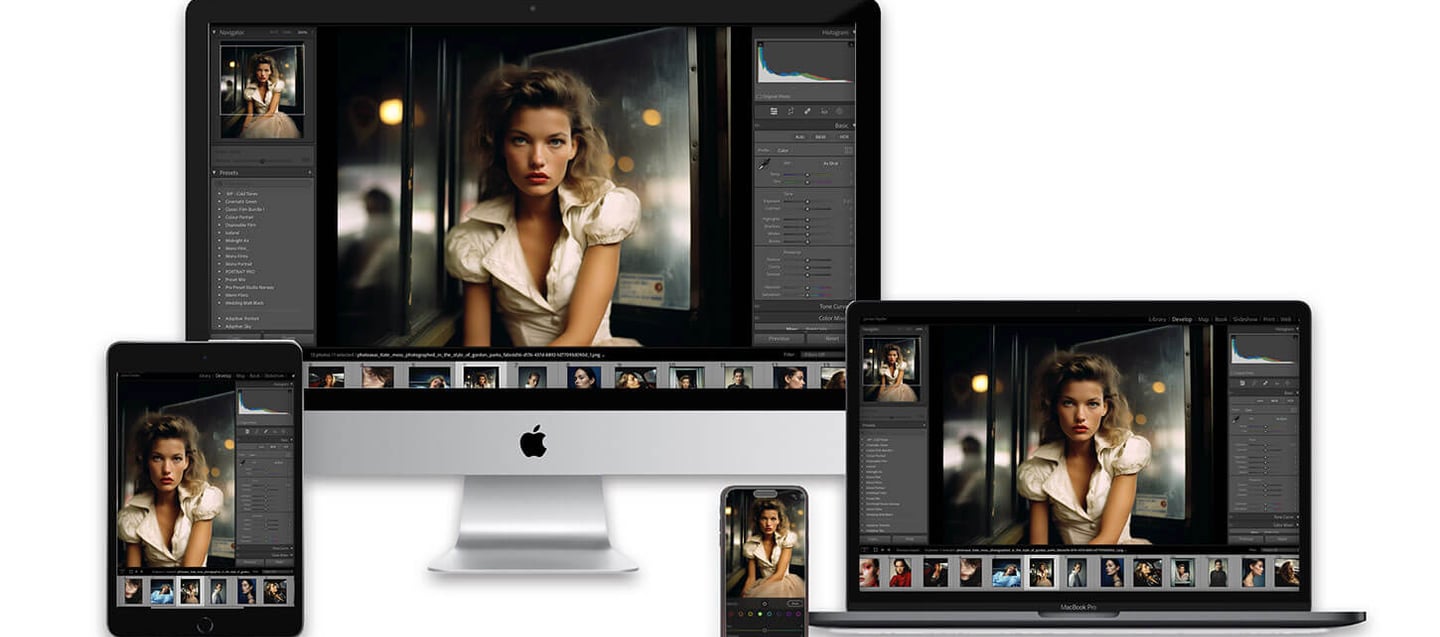

Installing presets in your Adobe Lightroom application will only take a few minutes. All presets are compatible with Lightroom, Lightroom Classic, and the Lightroom Mobile app, which is completely free.
Navigating different software platforms, from mobile to desktop and across Mac and Windows systems, can be challenging. This guide is intended to assist you, but Adobe's official support page provides comprehensive help if you encounter any issues. Please note that as digital products, these presets are non-refundable once purchased and downloaded. They remain in your possession and can be used indefinitely. For detailed support, please visit Adobe's website.
Installing Lightroom presets is a straightforward process that greatly enhances your photo editing workflow. First, download the preset files to your computer. In Lightroom, go to the 'Edit' panel, click on 'Preferences', and then select the 'Presets' tab. Click on 'Show Lightroom Develop Presets' to open the presets folder. Copy your downloaded presets into this folder. Finally, restart Lightroom, and the new presets should appear in your presets panel, ready to be applied to your photos. Remember, this process may vary slightly for different Lightroom versions. For detailed instructions and support, especially for older versions of Lightroom, it's advisable to refer to Adobe's official guide on
How to Install Presets and Profiles in Lightroom.
Lightroom Presets Installation Guide in 2024
This information here is a guide to how I install the presets. I understand that older versions work in different ways, and although I am trying to help by giving you installation instructions, which should help, you may have your own way of doing this, and if in doubt, it's best to head over to Adobe and their website installation process.
Installing presets in Lightroom Classic (version 7.3 or later) on Mac or Windows
The following instructions will guide you through the installation for Adobe Lightroom Classic version 7.3 or later, which is using the .xmp file format. For all older versions, please see the instructions below.
Download your purchased Lightroom presets, which will come in a .zip file “(for current and all Lightroom versions since April 2018)”.
Start Lightroom, navigate to the Develop Module, and click on File -> Import and Develop Profiles and Presets in the head menu.
Navigate to the Presets folder and pick the .zip file. You can also pick already unzipped .xmp files.
Now all the presets are ready to be used. You can find them in the Presets section on the left.
Installing presets in Lightroom 4, 5, 6, and Lightroom Classic (version 7.2 or older) on Mac or Windows.
This instruction will guide you through the Presets installation process for Lightroom 4, 5, 6, and Lightroom Classic (version 7.2 or older), which use the .lrtemplate files instead of the newer .xmp files.
Download your purchased Lightroom presets, which will come in a .zip file “(for Lightroom Version 4-6 and Classic CC)”. Unzip them.
Start Lightroom. If you are a Windows user, click on Edit > Preferences in the head menu. If you are using a Mac, you have to click Lightroom > Preferences in the head menu.
Click on the Presets tab in the newly opened window.
Click on the button named Show Lightroom Presets Folder (older versions) or Show All Other Lightroom Presets (newer versions).
Navigate to the Develop Presets folder, which you will find in the Lightroom folder.
Now, you have to copy the downloaded and unzipped .lrtemplate files in the Develop Presets folder.
Restart Lightroom, and all presets are ready to be used. You can find them in the Presets section on the left.
Installing presets in Lightroom CC on Mac or Windows.
This instruction will guide you through the preset installation process for Lightroom CC.
Download your purchased Lightroom Presets, which will come in a .zip file “(for current and all Lightroom versions since April 2018)”
Start Lightroom CC and select an image.
Click on File -> Import Profiles and Presets in the head menu.
Navigate to the Presets folder and pick the .zip file. You can also pick already unzipped .xmp files.
Now, all Presets are ready to be used. Just open the Presets Panel on the right side and click on a preset to apply it.
Installing presets in Lightroom Mobile.
Two methods exist to install the Lightroom Presets onto your mobile device application. Method 1 is highly recommended as the easiest and fastest way to get all Presets running. If you do not have an Adobe Creative Cloud subscription, you must go for method two, which will take slightly longer.
Method 1
You need to install all Presets in the Lightroom desktop application first. Please read the detailed instructions above. You must use Lightroom CC and not the Lightroom Classic application. After installing all presets, they will automatically be synced to your mobile device via the cloud.
Method 2
The following instructions will guide you through the free Lightroom mobile app installation process for iOS and Android without using the Lightroom desktop app. If you have an Adobe Creative Cloud subscription plan, method 1 is highly recommended, as it works much faster and easier.
Installation Guide for Lightroom Mobile on Android devices
After downloading the product onto your desktop computer, you need to transfer the “mobile-presets_andriod…“ ZIP onto your device.
Start your Lightroom application and select an image from your library.
Go down to the bottom of the toolbar and press the Presets tab to the right.
Press the three-dot icon and select Import Presets.
Now, you must navigate to the folder where you downloaded the ZIP file and import it. You can also extract the ZIP file by using the „My Files“ app and import only selected files of the content.
All presets are imported and ready to use. You will find them in a new group in the Presets tab.
Installation Guide for Lightroom Mobile on iPhone / iOS devices
After downloading the product onto your desktop computer, you must extract the "mobile-presets_iphone" ZIP file and transfer all .dng files to your device. Doing this via AirDrop is highly recommended, as it is the fastest way.
Start the Lightroom app on your iPhone and press the “+“ icon in your library to create a new "folder.". You may name this folder “Presets“ and open it. Then press “Create New Album“ and name the album after the presets you downloaded.
Once you are in the album, press the “Add“ icon to import new images. Now you need to navigate to the folder where you transferred the .dng files and select “Open“ all of them.
Open the first image and press “Create Preset“ in the menu after pressing the three dots on the top right.
Name the preset after the preset pack and save it to the Presets group.
Repeat the last two steps with every single .dng file (image) until you get all Presets listed in the Presets panel.


Installing Adobe Camera Raw (ACR) presets in Photoshop is a straightforward process, especially with the introduction of the .XMP format in ACR version 10.3 or newer. After downloading and unzipping your presets, you'll find three folders. These include two for Adobe Lightroom and Lightroom Classic (in.lrtemplate and . XMP formats) and one for ACR presets specifically designed for Photoshop. These presets allow you to apply professional editing touches to your images directly within the Camera Raw interface in Photoshop, streamlining your photo editing workflow.
A Guide only to Install Camera RAW Presets in Photoshop
Installing Presets in Adobe Camera Raw 10.3+ (Windows)
Navigate to the following location on your computer: "C:UsersUserNameAppDataRoamingAdobeCameraRawSettings" and leave this window open.
Go to the location where you unzipped your presets and open the ACR presets folder, usually named 'Photoshop: Adobe Camera Raw (ACR) Presets'
Select the desired preset folder(s) containing the XMP file(s) and press CTRL+C to copy them.
Return to the window where you opened the 'Settings' folder and hit CTRL+V to paste the folder(s) inside. Now you should have the folder(s) with the preset name
Start Photoshop, and the presets are ready for use
Installing Presets in Adobe Camera Raw 10.3+ (Mac)
Open a new Finder window go to "UserName > Library > Application Support > Adobe > Camera Raw > Settings" and leave this window open.
If you find that the folder is not visible then follow this information from Adobe here
Go to the location where you unzipped your presets and open the ACR presets folder, usually named 'Photoshop: Adobe Camera Raw (ACR) Presets'
Select the desired preset folder(s) containing the XMP file(s) and press Command+C to copy them.
Go back to the window where you opened the 'Settings' folder and hit Command+V to paste the folder(s) inside. Now you should have the folder(s) with the preset name.
Start Photoshop, and the presets are ready for use.